I've long wanted exhaust cutouts on the car for the track. The Borla ProXS mufflers I had installed originally are great in that they are very quiet at idle, cruse and even under light throttle. They really only open up at full tilt and even then they are not so loud. this is great for 99% of the driving I do with the car, I've always felt that "loud" is really only fun for a week or so. My first build I used Flowmasters and could not stand it after a few weeks. It did sound good when you wanted it to though.
And that brings us to the way the car is now. It's quiet, but I was getting tired of turbo Miatas out basing it at the track and at meets. I also hated how the audio on my in-car GoPro videos contained more sound from the suspension and the passenger seat belts clanging that the exhaust. I actually purchased a set of cut outs from Summit only to find that there was no space anywhere to locate them on the exhaust system. I had to figure out a different way.
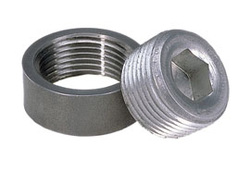
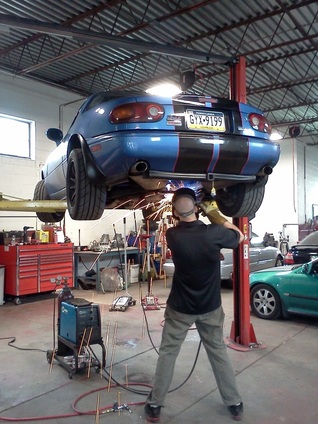
My first plan was to buy a set of 4 oxygen sensor bungs and caps and have them welded in in different spots on the system so I could "tune" the sound by taking out one or two at a time. I though about this and became afraid the sound would be too "poppy" due to the small diameter of the bungs. I wanted something a little larger in diameter. While searching I happened across a 1" NPT oil pan inspection bung and plug made by Moroso. I picked up a set and had Epic Tuning down the street from me weld them in.
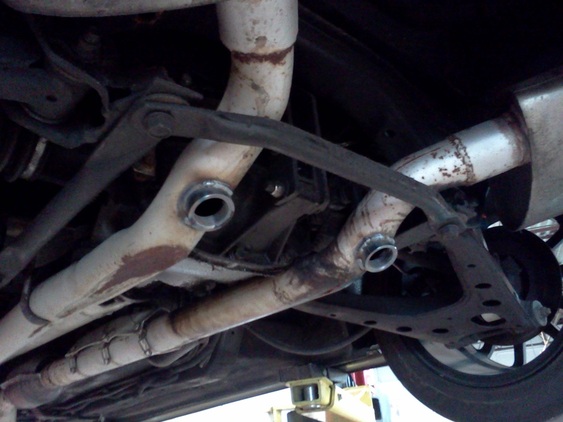
Here's the result. The "ports" are pretty big in comparison to an oxygen sensor bung and they are located where I can pull them out while changing my rear wheels for a track day. We started the car up before sticking the plugs in and the sound was actually quieter than the Flowmasters I had back in the day. It was actually quiet enough I could actually keep them out on the street. We'll see how they make the car sound at the track on Monday.
It may have been due to the rather stagnate, miserable, and disgusting weather we had today but none of our family of friends had any type of July 4th activity planned today. It was just as well as the weather was very miserable and it gave me the chance to try some ideas out I've had for my track wheels.

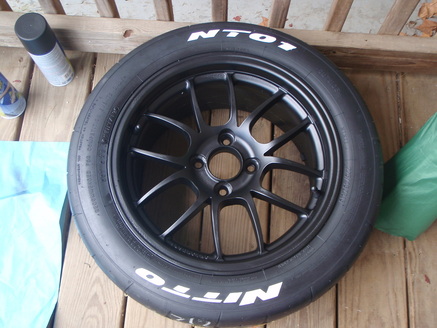
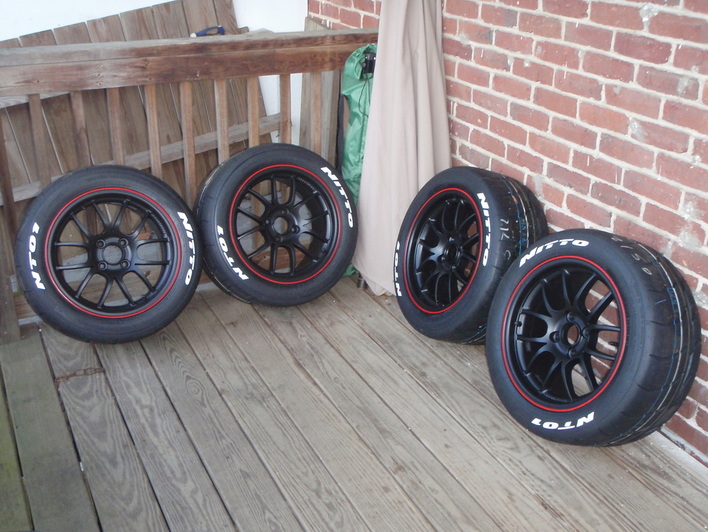
Here they are (or two of them at least), a set of four "original" 949Racing 6UL's. They are actually quite rare in a way since 949 only produced this first batch for a little over a year and then moved on to the second generation ones. These were the only ones that ever came with the machined lip and colored center. I like the look, but I kind of feel I want them to match my street wheels, a set of TireRack C1's which are matte black. I also intend on selling these at some point and really don't want the original finish to be damaged any further from dust from my track pads. To change their look, and protect them, I decided to give them a shot of PlastiDip. I also wanted to try painting the lettering on the tires. I'd actually experimented with using white PlastiDip on my street tires which did not turn out as well as I planned. They looked good when I put them on but the first time I went over 45 mph the letters literally just flew off.
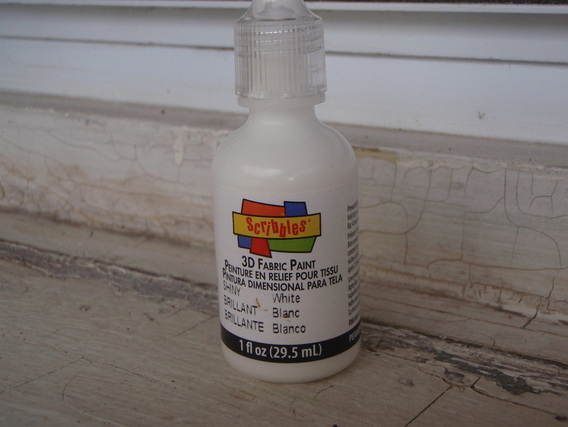
For this attempt I decided to try something new. I'd stumbled across a post somewhere by a guy with a Factory 5 Cobra. He, after trying a number of paints, finally tried fabric paint, the puffy type used to paint T-shirts. I figured if it's designed to withstand washing and drying and still stay flexible maybe it would work. I picked up three little bottles of the stuff above for $1.37 each at the craft store.
It actually worked pretty well. It has about the consistency of Elmer's Glue so you sort of just let it float on thickly and make a little pool in the letters. The first one tire took me about half an hour but the rest went much quicker. The PlastiDip turned out nice as well I think. Hopefully it will still be removable after being subjected to the track.
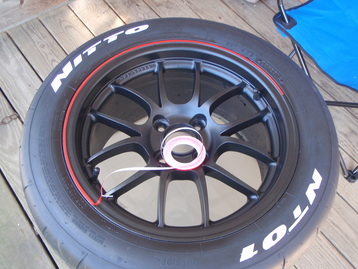
I liked how they turned out with the PlastiDip and white letters but I still felt they lacked something. It turns out I still had a little of the red pin striping left from when I redid my stripes a few years back. I'm not sure how well it's going to stick to the PlastiDip but I do like how they turned out in the end:
We'll see how they hold up on the track. I may add the stripe and white letters to my street tires if they hold up here. All-in-all not a bad two hour's work.
-Jason
Last year at the track we had a great time. It was the first year with the fans located behind the radiator as "pullers" which seemed to completely cool the car down on the street even with the AC on. The hood vents helped even further and even seemed to pull the car down o the track a bit more at speed. We added a set of side air dams and door bars, both of which changed the cars feel and appearance dramatically. We even upgraded to Evan's waterless coolant.
We really hoped this would be the year that the car would be "unlimited" and that we would both find our driving to be the limiting factor, not the car. Keeping the thing cool had been a continual battle the two years before that it had been tracked but now it seemed to be fine on the street so the track should have been a piece of cake, right?
The car was great for about 10 laps until we started to see the temps rise. I had installed an electronic AutoMeter gauge (much more accurate than the Miata dash gauge) and noticed it climbing up past 220 degrees. I kept at the throttle and it kept climbing up past 250, the limit of the gauge. I found that if I throttled it back a bit, threw the car in 5th and took a "rest lap" the temps would come back down and I could jump back in the fray. Needless to say, this is not ideal.
I took the winter to try and figure out what went wrong. I figured the shroud I had made for the radiator was too restrictive at speed. The ironic part is that with the fans in front of the radiator as "pushers" (the original configuration) the stock gauge would never show an issue on the track. On the street the car would overheat the moment you put the AC on. With the shroud the situation was reversed, fine on the street, hot on the track.
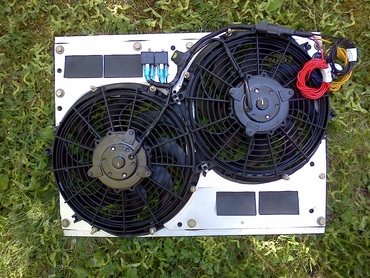
So I set about redesigning the shroud. I purchased two new TriPac fans from Monster Miata (the original ones were almost seized-maybe contributed a little to my overheating issue...) and a set of "Pressure Relief Flaps" from Spal that should let the air pass through the shroud at speed but still seal it up when the fans are on. I also integrated two new high-amperage relays into the shroud itself and built a small harness and plug for it so that everything would be easy to remove.
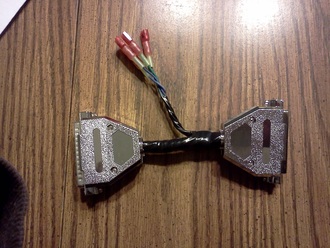
Earlier this year I removed the original unmodified or chipped A9L ECU and swapped in a MegaSquirt II PNP unit from DIYAutotune. Originally I had my fans running of a Miata thermoswitch that was placed in the Ford thermostat housing neck.. One of the reasons I went with the MSII was it's ability to run fans via the ECU's coolant temp sensor. To hook it up I made this small adapter harness on the left. The harness goes between the MSII and the Ford harness adapter and breaks the four unused idle wires out so I can use them.
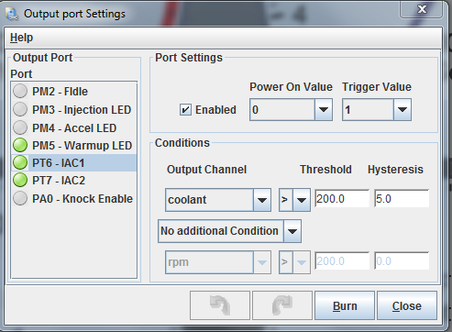
It's just amazing the freedom a programmable ECU gives you over a stock unit. Using TunersStudio I configured the MSII to turn the fans on at 200 and off at 195. Set up like this I get a consistent 198-210 degree running temp even with the AC on. We'll see if it keeps those temps at the track.
Oh, and on a side note regarding the 250+ temps on the track last year via my Autometer gauge and the "normal" readings on the stock gauge the year before: Currently Tuners Studio is showing that my Autometer gauge is running consistently 15 to 20 degrees higher than what it is showing. I'm not sure if this is a problem with the gauge or the ground to it but chances are my temps last year were more like 230, not 250. As far as the stock gauge is concerned, I read at a few different sources on the web that the stock gauge is set to show "normal" at anything between 150 and 210 degrees. The first half of the gauge is the 0 to 150 section, the needle hardly moves at the center between 150 and 210 and the last half of the movement covers 210 to 240. Knowing this it's highly possible my actual temps the year before were possibly in line with what I saw last year as well.
-Jason McCully
 RSS Feed